
Adding a “Back to Top” button to your Blogspot blog can greatly enhance user experience. This simple feature allows readers to quickly return to the top of the page. It is especially useful for long blog posts.
Implementing this button is straightforward and requires only basic HTML, CSS, and JavaScript knowledge. You can customize the button to match your blog’s design.
A well-placed button can improve navigation and reduce bounce rates. It ensures that your readers stay engaged with your content.
In this guide, we will walk you through the steps to add this feature.
Why Add a Back to Top Button to Your Blogspot Blog?
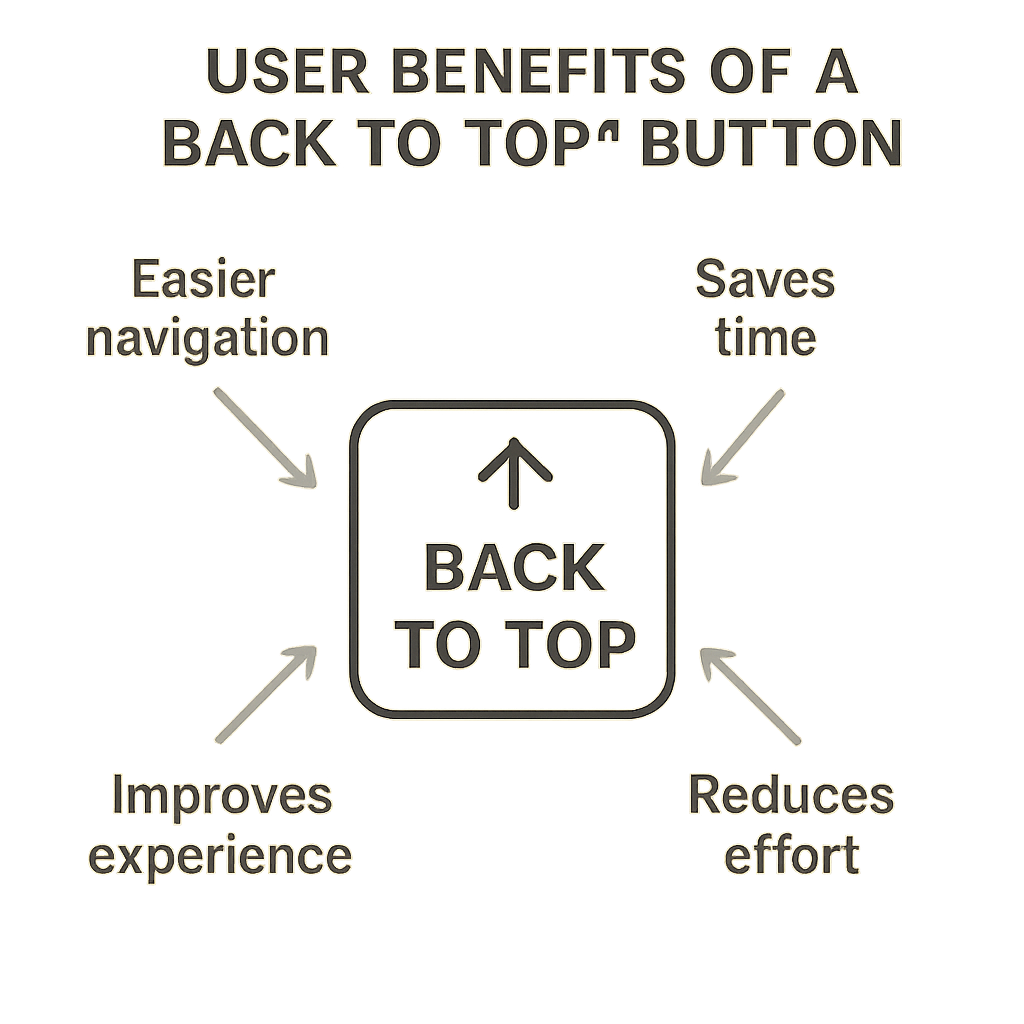
A “Back to Top” button offers practical benefits by enhancing your blog’s navigation. Users appreciate quick and easy access back to the top. It improves overall site usability and flow.
For blogs with lengthy posts, this button becomes even more valuable. It minimizes user frustration from endless scrolling. Thus, users will spend more time exploring your content.
A better user experience can lead to lower bounce rates. It keeps readers on your blog longer, which positively impacts your site statistics. Additionally, this feature can make your blog more professional and visually appealing.
- Improves navigation and usability
- Encourages reader engagement
- Reduces bounce rates
Methods to Add a Back to Top Button in Blogspot
Implementing a “Back to Top” button on your Blogspot blog can be achieved via several methods. Each method varies in complexity and customization options.
You can choose between manually adding code or utilizing a widget. The manual method is more flexible but requires some coding. Widgets are user-friendly and ideal for beginners.
Here are the typical methods available:
- Manually add HTML, CSS, and JavaScript to your theme.
- Use a premade widget from a third-party provider.
- Customize a downloaded code snippet for your blog.
Each method ensures a smooth browsing experience for your readers.
Step 1: Access Your Blogspot Theme Editor
To start, log in to your Blogspot account and navigate to the dashboard. From there, find and click on the “Theme” option in the left-hand menu.
Once you are on the “Theme” page, look for the “Customize” button. Instead, click the small down-arrow next to it, then select “Edit HTML.”

This will open the HTML editor for your blog’s theme. Here, you’ll add the necessary code for the “Back to Top” button. Be cautious as you’ll be working with your site’s core files.
Step 2: Add the HTML for the Back to Top Button
Now that you have accessed your theme’s HTML editor, it’s time to add the HTML code. Scroll through your theme’s code carefully, then identify the </body> tag near the bottom.
Add the following HTML code snippet just above the </body> tag. This code creates the button element:
<a href=”#” id=”back-to-top” title=”Back to top”>↑</a>

This anchor tag is linked to the top of your page and will serve as your button. The text or icon inside the button is customizable to fit your style. After adding the code, ensure you’ve saved your changes in the editor.
Step 3: Style the Button with CSS
Styling your “Back to Top” button is crucial for a seamless blog design. CSS allows you to make your button eye-catching and match your blog’s theme.
Navigate back to the HTML editor where you added the button. Locate the <style> section or create a new one if necessary. Add the following CSS code:
#back-to-top {
position: fixed;
bottom: 20px;
right: 30px;
display: none;
background-color: #000;
color: #fff;
padding: 10px;
border-radius: 5px;
text-align: center;
text-decoration: none;
}
#back-to-top:hover {
background-color: #555;
}

These CSS properties position the button at the bottom-right corner and ensure it’s hidden until needed. Customize colors, padding, and hover effects to fit your blog’s style. Adjust the size and shape of the button by tweaking padding and border-radius values. Always preview your changes to ensure everything is aligned with your design preferences.
Step 4: Add JavaScript for Smooth Scrolling and Visibility
JavaScript makes your “Back to Top” button functional and smooth. It handles both the visibility and the scroll effect.
To get started, locate the area where scripts are included in your HTML. Insert the following JavaScript code:
window.onscroll = function() {
var button = document.getElementById(“back-to-top”);
if (document.body.scrollTop > 100 || document.documentElement.scrollTop > 100) {
button.style.display = “block”;
} else {
button.style.display = “none”;
}
};
document.getElementById(“back-to-top”).addEventListener(“click”, function() {
window.scrollTo({top: 0, behavior: ‘smooth’});
});

This script displays the button when users scroll down. It hides when users scroll back up. The scrolling behavior is set to smooth, giving a pleasant user experience.
Position the JavaScript in your blog such that it loads after the HTML and CSS. This order prevents scripts from executing before the button is fully defined. Test the functionality by scrolling through your blog to ensure it appears and disappears as expected.
Step 5: Save and Test Your Back to Top Button
After adding the code snippets, it’s crucial to save your work. Locate the “Save” button in the theme editor and click it.
Next, preview your blog to test the button. Ensure it functions as expected by scrolling down the page. Verify that the button appears at the right time and location.

Don’t forget to check the button on both desktop and mobile views. Both should offer a smooth navigation experience.
Customizing Your Back to Top Button
Make your “Back to Top” button unique by personalizing its appearance. Adjusting the design to match your blog’s theme enhances its look.
Consider the following elements for customization:
- Colors: Change the background or text color.
- Size: Modify the button’s dimensions to make it more prominent.
- Icons: Use an arrow icon to make it clear and intuitive.

Experiment with CSS for hover effects or animations. These small changes can significantly improve user interaction. Remember to check visibility on different devices to ensure a consistent user experience.
Troubleshooting Common Issues
Encountering issues while adding a “Back to Top” button? Don’t worry. Here are some common problems and their solutions:
- Button Not Visible: Check CSS for display settings.
- No Smooth Scroll: Review the JavaScript for errors.
- Button Misplaced: Verify your HTML positioning.
Always test across different browsers to spot inconsistencies. Make sure your code is clean and error-free. Regular updates help maintain compatibility with Blogspot changes.
Tips for Better User Experience
Enhancing user experience is essential for Blogspot success. Here are some tips to optimize your “Back to Top” button:
- Placement: Keep it in the bottom right corner.
- Visibility: Ensure it only appears after scrolling down.
- Design: Match it to your blog’s theme.
Consider using intuitive icons or text for better recognition. Aim for smooth scrolling to avoid jarring movements. Lastly, make sure it doesn’t block important content.
Conclusion
Adding a “Back to Top” button to your Blogspot blog is a smart move. It enhances user navigation and boosts overall site functionality. This simple feature improves your blog’s user experience, making it more engaging.
With easy steps and little coding, you can significantly enhance your blog’s usability. This upgrade is not only quick but also highly effective. Keep experimenting and customizing to match your blog’s aesthetic.
The key is to ensure smooth and responsive functionality. Regular testing and updates will maintain this feature’s effectiveness. Over time, this small addition will greatly benefit your readers and your blog’s performance.